A Complete Guide to Waterproofing Shoes with Fabric Protectant
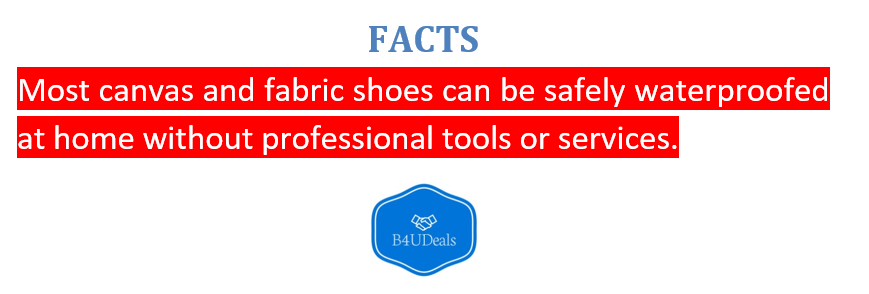
Keeping your shoes protected from moisture, stains, and grime is essential if you want them to last longer and retain their appearance. One of the easiest ways to add a layer of defense is by using a spray-on fabric protector. Here’s a thorough step-by-step guide on how to apply a waterproofing product safely and effectively to your canvas or fabric shoes.
Preparing the Space for Application
Before spraying anything, choose a space with ample airflow. Outdoors is the best option, but if weather conditions aren’t favorable, a garage or a room with open windows and a fan will work too. Ventilation is crucial since these products often contain strong fumes.
Lay down a protective covering like a drop cloth, old newspapers, or cardboard. This will catch any overspray and prevent damage to surrounding furniture or flooring. If you’re working outdoors, you may skip this step if the surface won’t be harmed.
To get the best results, remove the laces from your shoes. This will allow the spray to reach areas like the tongue and eyelets more evenly. Set the laces aside and spray them separately if you also want to waterproof them.
Getting the Shoes Ready
Expose all fabric areas by slightly pressing the tongue of the shoe downward. This makes sure every part of the upper gets a full coating. Next, shake the spray can well for about 10 seconds. This ensures the ingredients are properly mixed for even distribution during application.
Testing for Fabric Safety
Before applying the spray all over, do a spot test to ensure your shoes won’t discolor. Choose an inconspicuous section like the inside heel or a tongue corner. Spray a small amount and gently rub with a clean white cloth. If no color transfers, it’s safe to proceed. This is particularly important for brightly dyed or delicate fabrics.
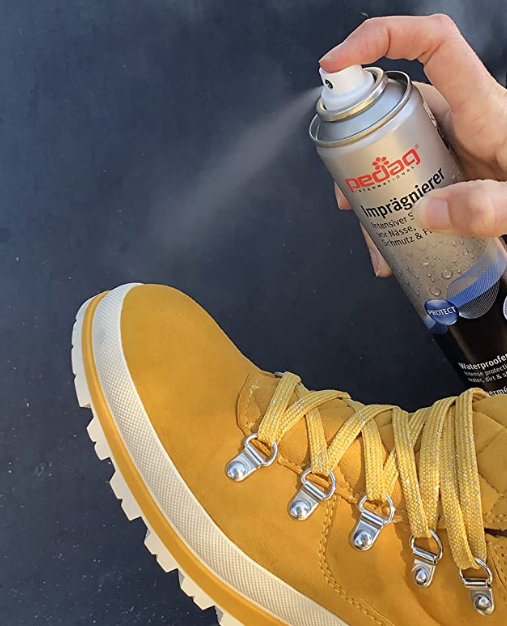
Applying the First Coat
Hold the spray can at a moderate distance, ideally between 6 and 12 inches from the shoe surface. Begin misting with a slow, sweeping motion, making sure to avoid oversaturating one area. Move from side to side, covering the fabric evenly. Do not spray the rubber outsoles or non-fabric parts, as these don’t need protection.
Once coated, allow the shoes to sit upright in a dry area for a few minutes. This resting time helps the protectant start bonding to the fabric fibers.
Reinforcing the Barrier with Extra Coats
For those living in particularly wet climates or looking for stronger coverage, additional coats can be applied. After the first layer dries for a few minutes, repeat the spraying process just as before. Two or even three coats may be applied for extra durability, but ensure you allow drying time between applications.
It’s important not to saturate the shoes. Too much spray can lead to dripping and uneven drying. Instead, stick to light, even layers and give the shoes time to absorb each coat.
Final Drying Stage
Once your final coat is complete, let the shoes cure in a dry, safe spot for 24 hours. This ensures the product fully bonds with the material. Ideally, leave the shoes in an open-air location like a garage or covered porch to help dissipate any lingering fumes. Make sure they remain dry during this time.
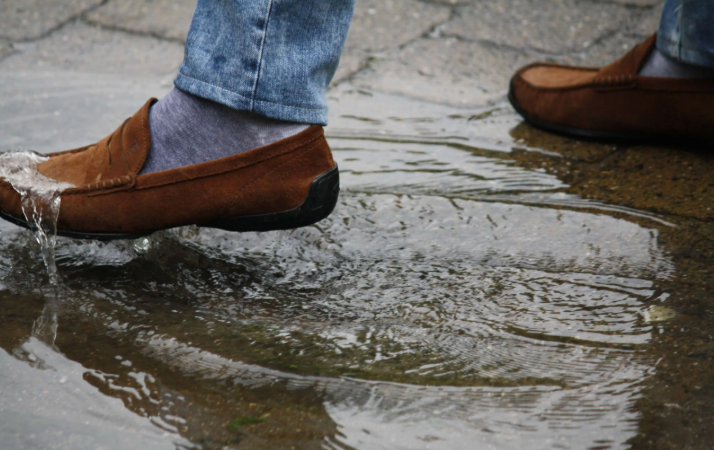
Once dried and aired out, the shoes will be ready to wear. You should notice water beading off the surface the next time you step into damp conditions.
Maintenance and Frequency
Waterproofing isn’t a one-time solution. Reapply the spray every six months or after heavy use. Shoes exposed to rain, puddles, or muddy environments may need protection more often. If the surface no longer repels water, that’s a clear signal it’s time for a refresh.
Safety Tips
Never use waterproofing sprays in closed, unventilated areas. The fumes can be harmful to both people and pets. Keep animals and children away during and immediately after application. If you’re sensitive to smells or chemicals, consider wearing a mask and gloves.
Always double-check the label of the product you’re using. Different formulas are available for various fabrics. If you’re treating suede or nubuck, make sure the spray is specifically made for those materials. Avoid using general fabric sprays on leather.
Our Conclusion
Waterproofing your shoes is a straightforward task that significantly boosts their durability and cleanliness. With just a can of fabric protector and some preparation, you can shield your favorite footwear from everyday wear and the elements. Follow this guide step by step, and you’ll extend the life of your shoes while keeping them looking sharp.
FAQs about Waterproofing Shoes
Why should I waterproof my shoes with fabric protector?
Applying a fabric protector shields shoes from water damage, dirt, and stains, extending their lifespan and preserving their appearance.
Where should I spray my shoes to stay safe?
Always use the spray in a well-ventilated space such as outdoors, a garage, or near open windows to avoid inhaling harmful fumes.
Do I need to remove the laces before spraying?
Yes, removing the laces allows the spray to reach all fabric surfaces evenly, especially around the tongue and eyelets.
How far should I hold the spray can from my shoes?
Keep the spray can 6 to 12 inches away to ensure an even, light mist without oversaturating the fabric.
How many coats should I apply?
Apply one to three light coats, letting each dry in between, for maximum waterproofing without soaking the material.
How long should the shoes dry after spraying?
Allow shoes to dry completely for at least 24 hours in a dry, ventilated area before wearing them again.
How often should I reapply fabric protector?
Reapply every 6 to 12 months or after heavy use—especially if the shoes no longer repel water effectively.