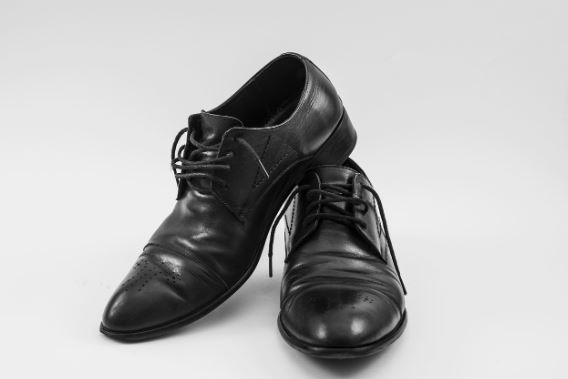
How to Restore Cracked Leather Shoes: A Complete Guide
Leather shoes are a timeless wardrobe staple known for their durability and classic look. But over time, even the best leather can develop cracks due to dryness, exposure to harsh elements, or improper storage. The good news? Cracked leather doesn’t mean the end for your shoes. With the right steps, you can breathe new life into them and even prevent future damage. Here’s a step-by-step guide to repairing cracked leather shoes and maintaining them so they last for years.
Getting Started: Cleaning and Prepping the Leather
Before attempting to repair cracks, it’s essential to thoroughly clean your shoes. Dirt and mold can interfere with the repair process and even worsen the condition of the leather over time.
Remove Mold and Surface Debris
If your shoes have any greenish spots or a musty smell, they may be harboring mold. Take them outside to avoid spreading spores indoors, and gently scrub the affected areas using a soft brush or a dry cloth. For stubborn mold, lightly dampen the brush with warm water. Discard the brush after use to prevent contamination.
Additionally, assess your shoe storage area. Mold tends to thrive in damp, dark environments. Clean the area with a diluted bleach solution to kill remaining spores and avoid future infestations.
Wipe Away Dirt and Grime
Once mold is dealt with, use a barely damp microfiber or cotton cloth to wipe down the shoes, removing dirt and surface buildup. Be cautious not to saturate the leather; just enough moisture is needed to clean without harming it. This step ensures that your repair products bond well to the leather.
Apply a Leather Cleaner
Next, use a leather-specific cleaner like saddle soap to remove embedded grime and condition the leather slightly. Work the cleaner into the surface with a dauber or soft cloth, using small circular motions. As the lather lifts out dirt and oil, you’ll notice a change in the leather’s texture and color. Avoid harsh cleaners that contain lye or alcohol, as these can further dry out the material.
Dry the Shoes Thoroughly
After cleaning, wipe the shoes with a fresh cloth to remove any remaining cleaner or moisture. Focus extra attention on cracked areas, making sure no residue is left behind. At this point, your leather shoes are ready for the actual repair.
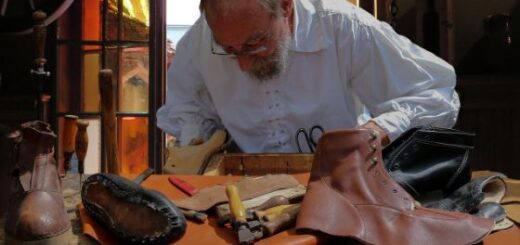
Repairing Cracked Leather
Once your shoes are clean and dry, it’s time to address the cracks. While it’s impossible to reverse leather cracking completely, you can minimize the appearance and reinforce the structure of the shoe with the right tools and materials.
Maintain Shoe Shape During Repairs
Insert crumpled newspaper, rags, or tissue paper into the shoes to help them keep their form during repair. This not only stabilizes the leather but also prevents further creasing and distortion while you work.
Rehydrate with a Leather Moisturizer
Apply a high-quality leather moisturizer, such as mink oil or a beeswax-based conditioner, focusing on cracked areas. Gently rub it in using your fingertips or a soft applicator, allowing the leather to absorb the moisture. Lightly warming the shoes beforehand (with a hair dryer or heat lamp) can help the oil penetrate deeper into the fibers.
This step is crucial because dry leather tends to crack further. Conditioning replenishes lost oils and improves the flexibility of the material.
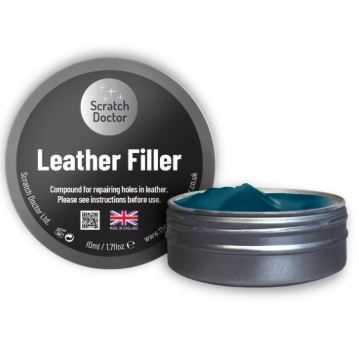
Fill the Cracks with Leather Compound
Use a leather filler—typically an acrylic-based product—to fill noticeable cracks. Apply it with a sponge or plastic spatula, pressing it firmly into the damaged areas. Level the filler so it’s flush with the leather’s surface. For wider or deeper cracks, apply the compound in layers, allowing each to dry before continuing.
Keep in mind that while fillers restore the look of leather, they don’t make it as strong as it once was. Still, they’re effective in improving the appearance and extending the usability of the shoes.
Allow Ample Drying Time
Depending on the product, drying time may range from 30 minutes to several hours. It’s best to let the shoes sit for a full day to ensure everything is thoroughly set. Once dry, inspect the cracks and repeat the filler application if necessary for a smoother finish.
Smooth the Surface with Fine Sandpaper
Use 220-grit sandpaper to gently buff the treated areas. This helps to blend the filler into the surrounding leather, eliminating visible lines or roughness. Avoid using coarse grit, which can cause further damage. After sanding, wipe the shoes again with a dry cloth to remove dust.
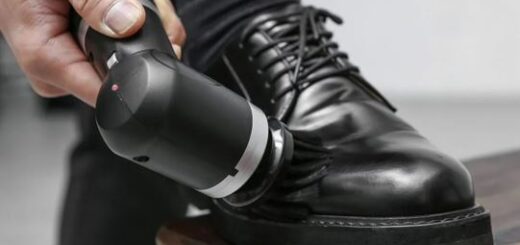
Reviving Color and Shine
Once the cracks are repaired, the next step is to unify the look of your shoes with polish and conditioner.
Apply Shoe Cream to Restore Color
Choose a shoe cream in a shade that closely matches your leather. Apply it using a dauber or soft cloth, working in circular motions. Creams not only enhance color but also add a protective layer to the leather. Focus on the repaired areas first, then work over the entire shoe for consistency.
Buff for a Uniform Finish
Using a clean cotton cloth, buff the leather in small circular motions. Spend about four minutes on each shoe to bring out the shine and evenness. This process helps distribute the cream evenly while giving the shoes a rejuvenated look.
Condition Weekly for Ongoing Protection
Leather benefits from regular care. Use a conditioner once a week, especially if your shoes are worn frequently. Apply a thin layer with a soft cloth, ensuring complete coverage. Let the conditioner sit for a few minutes before wiping off the excess. This routine keeps the leather supple and prevents future cracking.
If you’re interested in alternatives to traditional conditioners, melatonin wax or beeswax-based products offer great results. Always test a small area first to ensure color compatibility.
Long-Term Care: Preventing Cracks in Leather Shoes
While repair is possible, preventing cracks from forming in the first place is much easier. Here are several tips to keep your shoes in prime condition:
Clean After Each Use
Dirt and grime can dry out leather over time. Use a soft brush or cloth to clean your shoes after wearing them. Avoid water unless necessary, and never wear leather shoes in rainy conditions, as water can cause shrinkage and cracking.
Hydrate the Leather Regularly
Just like skin, leather needs moisture to stay healthy. Regular conditioning is essential, particularly after cleaning. Rehydrating the leather locks in moisture, preventing it from becoming brittle.
Keep the Shape Intact with Shoe Trees
Stuff your shoes with cedar shoe trees or acid-free paper when not in use. These tools maintain shape, absorb moisture, and reduce the chances of wrinkles turning into cracks. Avoid stacking shoes on top of each other in storage.
Store in a Cool, Dry Environment
Exposure to sunlight, humidity, or excessive heat can deteriorate leather quickly. Store your shoes in individual boxes or on shoe racks in a temperature-controlled space. A sealed container with ventilation is another good option to protect them from environmental damage.
Final Thoughts
Reviving cracked leather shoes doesn’t have to be overwhelming. With the proper tools, patience, and regular upkeep, you can dramatically improve the appearance and lifespan of your leather footwear. It’s all about preparation, moisturization, filling, and prevention. While you may not be able to make the leather completely new again, you can certainly make it look and feel far better than before.
Did You Know?
- Stuffing shoes with cedar shoe trees not only preserves shape but also naturally deodorizes them.
- Leather loses moisture just like skin—without regular conditioning, it becomes prone to cracking and peeling.
- High-quality polish and creams not only restore color but also act as a barrier against future moisture loss.
Expert Tip
Johnson Brown, a shoe care expert, recommends using cedar shoe trees and regular cleaning to prevent cracks. She emphasizes the importance of maintaining shape and hydrating the leather consistently for best results.